














Color is one of the first things people notice about a candle. A well-colored candle looks professional, feels intentional, and often sells better or makes a more impressive gift. Whether you are making candles for personal use, gifting, or small business sales, learning proper candle coloring techniques can instantly level up your results.
This tutorial walks you through the full process, from melting wax to pouring evenly colored candles, with beginner-friendly steps and pro tips that work for soy, paraffin, beeswax, coconut wax, and blends.
Why Candle Color Matters
Candle color affects mood, branding, and perceived quality. Soft neutrals often feel calming, while bold tones feel energizing or festive. This idea connects closely to color psychology, which many makers use when designing seasonal collections or gift sets.
Color also helps buyers identify scent families, match home decor, or choose candles for special occasions. A clean, even color finish signals care and craftsmanship.
Candle Coloring Basics: What You Need
Before you start, gather these essential candle-making supplies:
- Wax of your choice, soy, paraffin, beeswax, or blends
- Candle dye, liquid, chip, or powder
- Heat-safe pouring pitcher
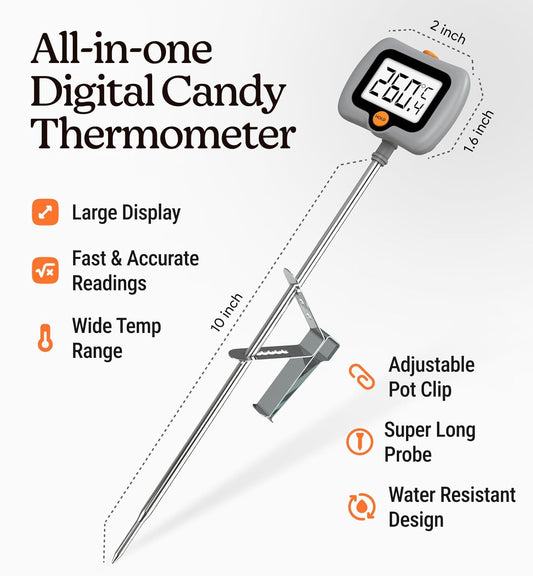
- Thermometer
- Stirring utensil
- Prepped containers or molds
Always use dyes made specifically for candles. Craft paint, food coloring, or crayons can clog wicks, burn unevenly, or release unwanted fumes.
Choosing the Right Candle Dye
Understanding the difference between liquid and chip dyes helps you control color strength and consistency.
Liquid dyes
These are concentrated and easy to measure. They dissolve quickly and are great for consistent batches, especially for beginners.
Dye chips or blocks
These are solid and offer more control for subtle or layered shades. They take slightly longer to melt but store well and last longer.
Natural waxes like soy or coconut are compatible with plant-based waxes. This reduces issues like uneven coloring or dull tones.
Step 1: Melt the Wax Properly
Melt wax slowly using a double boiler or controlled heating method. Each wax type has an ideal melting range, so check manufacturer guidelines.
Stir gently while melting to distribute heat evenly. Overheated wax can affect how well the dye binds and may contribute to color fading in candles later.
Step 2: Add Dye at the Right Temperature
Timing matters when coloring wax.
Once the wax is fully melted and clear, add dye at the recommended temperature, usually between 160°F and 180°F, depending on wax type.
Start with a small amount. Candle color always looks darker in liquid form and lightens as it cools. Stir slowly for at least two minutes to ensure full dispersion. Poor stirring is one of the most common reasons for streaks or uneven color.
This step is essential when dyeing soy wax candles, and the same principle applies to other types of wax as well.
Step 3: Test the Color Before Pouring
Dip a spoon or drop a small amount of wax onto white paper or a paper towel. Let it cool for a few seconds.
If the color is too light, add dye gradually. If it is too dark, add more melted wax to dilute. This testing step saves time, wax, and frustration.
Step 4: Add Fragrance and Stir Again
If using fragrance oil, add it after the dye is fully mixed. Fragrance can slightly alter color tone, especially with natural waxes.
Stir gently for another one to two minutes. Avoid fast stirring, which can introduce air bubbles.
Step 5: Pour Slowly and Evenly
Pour wax into containers or molds at the recommended pouring temperature for your wax type.
Slow, steady pouring helps prevent frosting, sinkholes, and color separation. Keep the pouring stream consistent for a smooth surface and uniform color.

Pro Candle Coloring Techniques to Try
Once you master the basics, explore more advanced candle coloring techniques:
- Layered colors for gradient effects
- Swirled designs using two coordinated shades
- Ombre candles using controlled cooling and multiple pours
These techniques are ideal for candle decoration and help create a more polished, premium look.
Preventing Common Color Problems
Color fading in candles
Store finished candles away from direct sunlight and heat. Use UV-stable dyes when possible.
Uneven or blotchy color
This usually comes from adding dye too early, not stirring enough, or pouring at the wrong temperature.
Muted colors in natural wax
Plant-based waxes naturally produce softer tones. Embrace this look or slightly increase dye concentration while staying within safe limits.
Candle Coloring Tips for Gifts and Seasonal Sets
When making handmade candle gifts, use seasonal color palettes such as warm ambers for fall, soft pastels for spring, and deep reds or greens for the holidays. These subtle choices make candles feel thoughtful and intentional.
Playing with different color combinations lets you create unique candle shades that fit your style or overall theme.
Final Thoughts
Coloring candles is both a skill and an art. With the right dye, correct temperatures, and patient stirring, you can achieve clean, professional results across all wax types. Focus on small adjustments, test often, and take notes on what works best for your setup.
Once you feel confident, candle coloring becomes one of the most enjoyable parts of candle making. It is where creativity meets craftsmanship, and where your candles truly start to stand out.
Bring your candle-making to the next level with this premium candle dye set designed for smooth blending and rich, professional-quality color results. Perfect for beginners and experienced makers alike, it helps you achieve consistent, vibrant shades across soy, beeswax, paraffin, and blends. A simple upgrade that makes every candle look more polished, intentional, and gift-ready.

