


Making candy at home can feel stressful. Sugar moves fast, temperatures rise quickly, and one mistake can turn smooth caramel into burnt syrup. That is exactly why we use a candy thermometer in the first place. A digital candy thermometer removes guesswork and gives you precise control so your candy turns out right every time.
Whether you are making caramel, fudge, toffee, or brittle, learning how to use a digital candy thermometer properly will instantly improve your results. This guide walks you through every step in a clear, beginner-friendly way.
Why a Digital Candy Thermometer Makes Candy Making Easier
Candy making depends on temperature, not time. Each candy texture comes from heating sugar syrup to a specific range. Guessing leads to grainy fudge, runny caramel, or rock-hard candy.
A thermometer for candy making solves this by giving real-time readings. Compared to traditional tools, a digital model offers faster response, clearer numbers, and better accuracy. Many home cooks prefer it over older designs after just one use.
When comparing tools, the digital vs analog candy thermometer debate usually comes down to speed and clarity. Digital thermometers show exact numbers instantly, while analog versions can lag or be harder to read.
What You Need Before You Start
Before heating the sugar, make sure you have everything ready. Candy does not wait.
You will need:
- A digital candy thermometer rated for high heat
- A heavy-bottom saucepan
- A heat-safe spatula or spoon
- Your prepared ingredients
Most modern digital models work across a wide range, often from about -58°F to 572°F, which makes them useful beyond candy. Many also include an auto timer and a clear digital display.
Step-by-Step How to Use a Digital Candy Thermometer
Step 1: Attach the Thermometer Correctly
Clip the thermometer to the side of the saucepan. The probe tip should sit in the liquid but not touch the bottom of the pan. Touching metal can give false readings.
This step alone fixes many beginner mistakes.
Step 2: Turn It On and Set the Timer If Needed
Power on your thermometer before the mixture heats up. If your model includes a timer, set it now so you can focus on watching the temperature.
Step 3: Heat Slowly and Watch the Numbers
Place the pan over medium heat. Avoid rushing. Sugar syrup climbs fast near the end.
A candy-making thermometer works best when you monitor it continuously rather than checking occasionally.
Step 4: Know the Candy Making Stage Temperatures
Different candies require different heat levels. Understanding this is essential.
Here are common candy-making stage temperatures in Fahrenheit:
- Thread stage: 230 to 234°F
- Softball stage: 235 to 240°F
- Firm ball stage: 245 to 250°F
- Hard ball stage: 250 to 266°F
- Soft crack stage: 270 to 290°F
- Hard crack stage: 300 to 310°F

This acts as a basic candy thermometer temperature chart that helps you stop heating at the exact right moment.
Step 5: Remove from Heat at the Target Temperature
Once your thermometer reaches the correct range, immediately remove the pan from the heat. Sugar continues cooking even after you turn off the stove.
This single habit prevents overcooking more than anything else.
Candy Thermometer Tips for Beginners
If this is your first time, these tips will save frustration.
- Stir gently or not at all once the syrup boils, depending on the recipe
- Wipe sugar crystals from the pan sides with a damp brush
- Never walk away from heating sugar
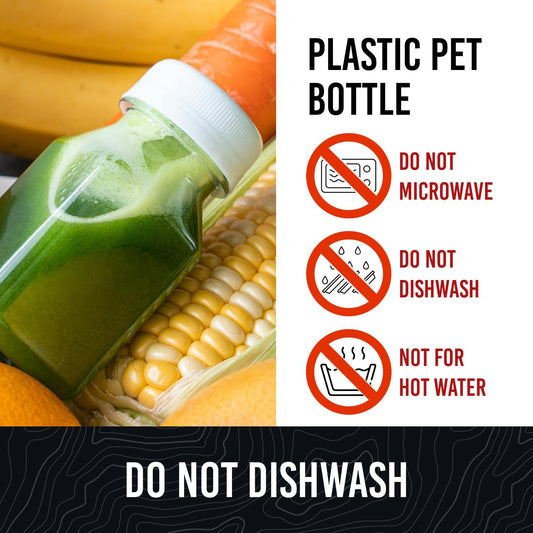
- Clean the probe immediately after use to prevent buildup
Following these tips makes each batch more predictable and repeatable.
Digital Candy Thermometer Features That Matter
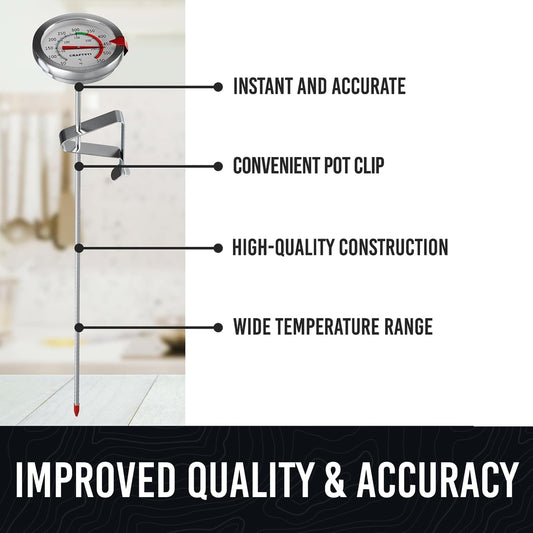
Not all thermometers are the same. Useful candy thermometer features include:
- Fast temperature response
- Clear digital display
- Heat-resistant probe
- Clip for hands-free use
- Timer function
Some models use small LR44 batteries, which are typically included and easy to replace. Some models, like Craft911 Digital Candy Thermometer, include a protective shield made of silicone or other insulating materials to protect the body from direct heat.
Digital vs Analog Candy Thermometer for Home Cooks
If you are choosing between styles, here is a simple comparison.
A digital thermometer:
- Reads faster
- Is easier to read
-
Works for candy, meat, and oil
An analog candy thermometer:
- Has no batteries
- Can be slower to respond
- Is often harder to read at high heat
For most beginners, digital is easier and more forgiving.
Why This Tool Pays for Itself
Once you understand the usage of a candy thermometer, candy making stops feeling risky. You waste less sugar, avoid burnt batches, and get consistent textures every time.
A reliable digital candy thermometer quickly becomes one of the most useful tools in your kitchen, especially if you enjoy homemade sweets or baking projects.
Final Thoughts
Learning how to use a digital candy thermometer correctly is a small skill with a big payoff. It replaces guesswork with confidence and turns intimidating recipes into repeatable successes.
If you want smooth caramel, creamy fudge, or crisp toffee without stress, this tool makes all the difference. Master the temperature, and you will never ruin another batch again.
Take the guesswork out of candy making with the Limegoods Digital Candy Thermometer. It delivers fast, accurate readings so you can hit the perfect temperature every time without stress. If you’re ready for consistent, foolproof results, this is the tool that makes it happen.

